
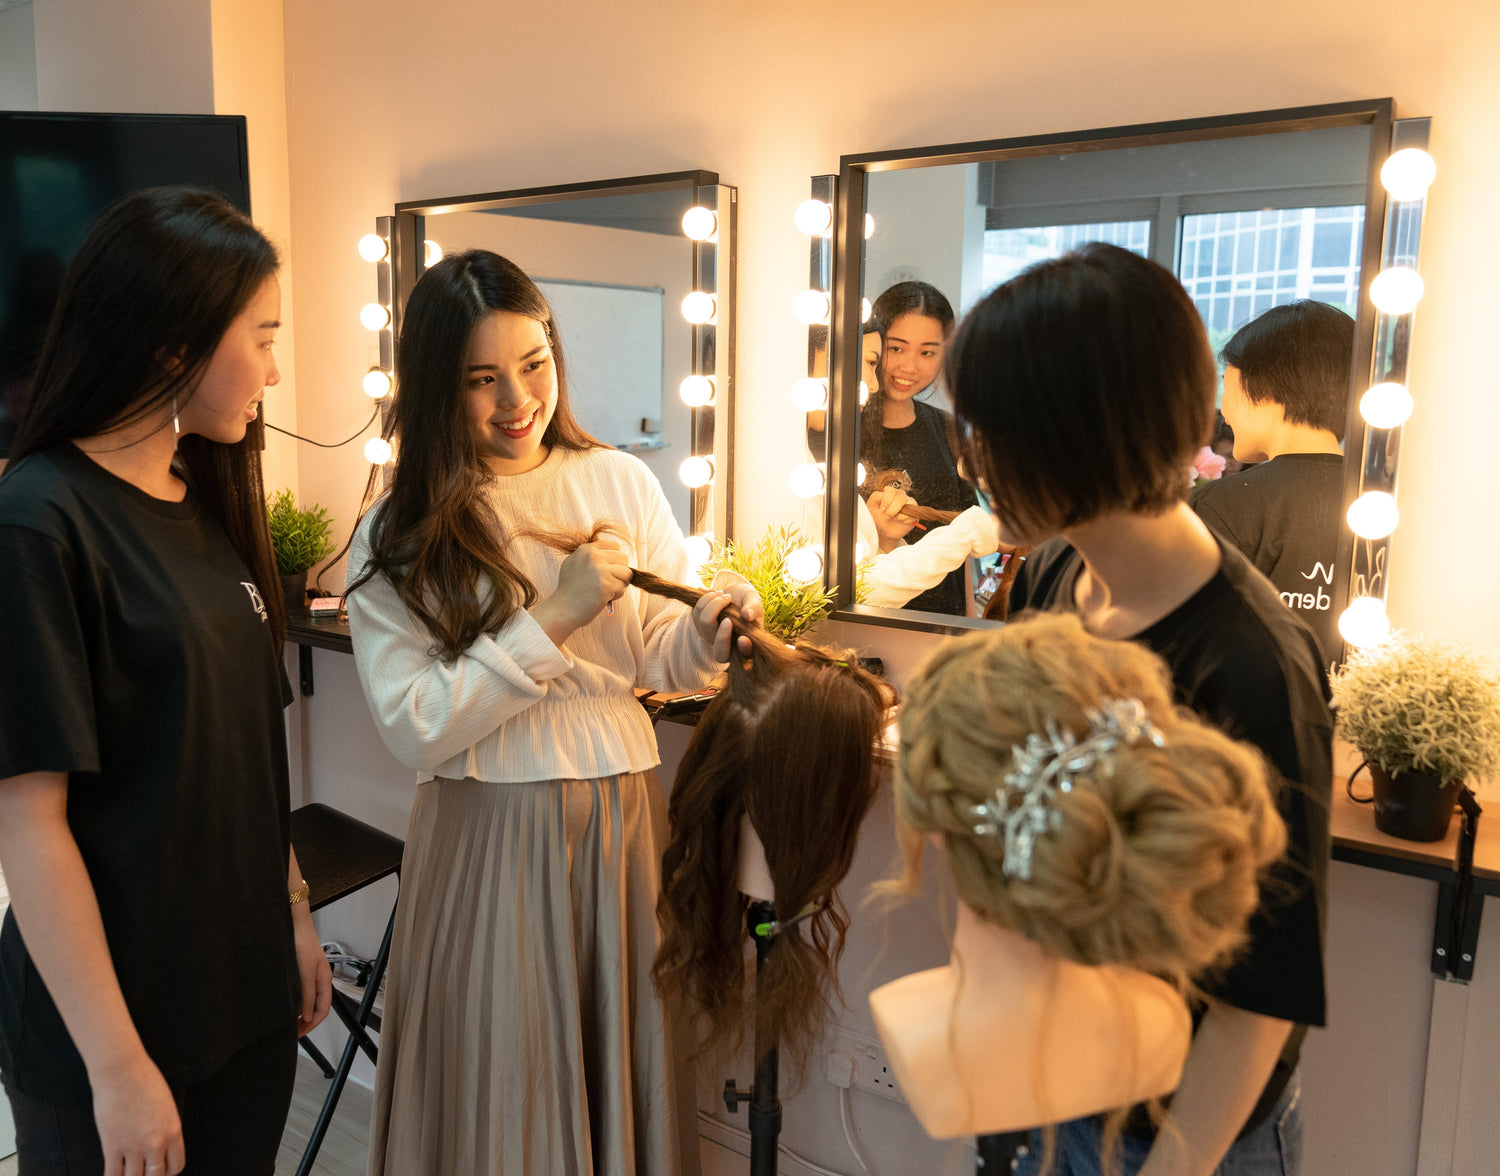
One of the biggest mistakes beginner hairstylists make is trying to create a bridal hairstyle without properly preparing the hair first.
You can have a beautiful reference image and know exactly how you want the finished style to look — but if the hair underneath hasn't been prepared correctly, you're already making the job much harder for yourself. The hair may feel too slippery. Pins don't grip properly. Braids fall flat. The crown loses volume. And curls may drop much faster than expected.
That's why, when I teach bridal hairstyling, I always emphasise that the finished hairstyle actually begins during the preparation stage. Here are three different ways professional artists can prepare the hair before styling.
1. Heated Rollers
Heated rollers are one of the more traditional methods of preparing hair for styling.
The hair is divided into sections and wrapped around heated rollers. Once the entire head has been set, you can leave the rollers in while working on another part of your client's preparation.
When they're removed, you're left with movement and volume throughout the hair.
When are heated rollers useful?
One advantage is efficiency.
If you're doing both hair and makeup for a client, you may be able to set the hair first, complete the makeup while the rollers cool, and then return to the hairstyle. However, heated roller sets can be bulky to carry around as a working artist, and they don't always give you as much control over the exact curl pattern as other methods.
It's still a useful technique to understand — but it's not the method I personally reach for most often today.
2. Crimp & Curl
This is a technique I use frequently when teaching bridal hairstyling. Rather than crimping the visible lengths of the hair, a crimper can be used strategically around the root area to create texture and volume. This gives us two things we really want when building certain bridal hairstyles:
Grip and volume.
Hair that's extremely smooth and silky can sometimes be surprisingly difficult to style. Creating controlled texture gives pins, teasing and the eventual hairstyle something to hold onto.
After creating the root texture, we can then curl the lengths of the hair. But even here, we're not simply curling everything randomly. The direction of the curls, the size of the sections and where we want the volume to sit can all affect the finished hairstyle.
That's why hair preparation isn't simply a step to rush through before the "real" styling begins.
It is part of the hairstyle.
3. Curl & Pin
Another useful preparation technique is curling and pinning.
After curling a section of hair, instead of immediately allowing the curl to hang down, gently catch the curl while it's still warm and pin it into place. Allowing the hair to cool in its curled shape helps establish the curl before you begin manipulating it into your final hairstyle. This can be particularly useful when you want the hair to maintain movement and structure throughout the styling process.
Once the curls have cooled, they can be released and used as the foundation for your finished look.
Which Hair Preparation Technique Should You Use?
There isn't one preparation method that's correct for every client.
And that's something I really want aspiring artists to understand. Before choosing your technique, look at the hair you're actually working with.
- Is it extremely silky?
- Fine?
- Thick?
- Oily at the roots?
- Does it struggle to hold a curl?
- How much volume does your finished hairstyle require?
You may also need products such as dry shampoo, texture products or hairspray depending on the client's hair and the style you're creating.
A professional artist shouldn't simply memorise:
“Before bridal hair, I always do X.”
Instead, you want to develop the ability to look at someone's hair and think:
“What does this hair need for me to create this particular style?”
That's the skill we're ultimately trying to develop.
Good Bridal Hairstyling Starts Before the Hairstyle
When students first learn bridal hairstyling, it's natural to focus on the exciting part — the braids, buns, twists, waves and finished looks. But a beautiful hairstyle needs a strong foundation underneath it.
The more you understand how to manipulate and prepare different hair types, the easier the actual styling process becomes.
This is something we practise throughout our professional hairstyling training at Bloom Pro Academy in Singapore, where students learn not only how to recreate hairstyles, but how to understand the techniques underneath them.
Our 64-hour Bloom Pro Artist Course includes both professional makeup and bridal hairstyling training.
For students who want to focus specifically on hair, we also offer professional bridal hairstyling training.
Explore the Bloom Pro Artist Course →
Explore our Professional Bridal Hairstyling Course →
Roseanne
Bloom Pro Academy